
The 7-Minute Pamphlet Stitch (Full Written Tutorial)
This is still the most-watched tutorial on my whole channel, and enough of you have asked for the steps in writing that I finally sat down and wrote the whole thing out. If you'd rather watch than read, you can watch the original video here.
It's called a two-section pamphlet stitch because, instead of sewing one signature straight into your cover, you're sewing in two separate signatures side by side. That's what gives the cover its little “mountain and valley” fold, and it's also why the whole thing looks a lot more complicated than it actually is — the truth is, it takes about seven minutes once you've got your supplies cut.
I've been making these constantly to build up inventory for craft shows — they're fast, they don't eat through a big pile of specialty supplies, and every one turns out a little different depending on the paper.
What you'll need
- One 12″×12″ sheet of scrapbook paper — or a wallpaper sample sheet, if you want a longer book with room for a folded pocket
- About 20 sheets of paper for your inside pages, folded in half individually
- Linen thread — roughly three times the height of your spine
- A needle, an awl or push pin for punching, and a bone folder or something to burnish with
- A scoring tool, or just a pencil and ruler
How to make it
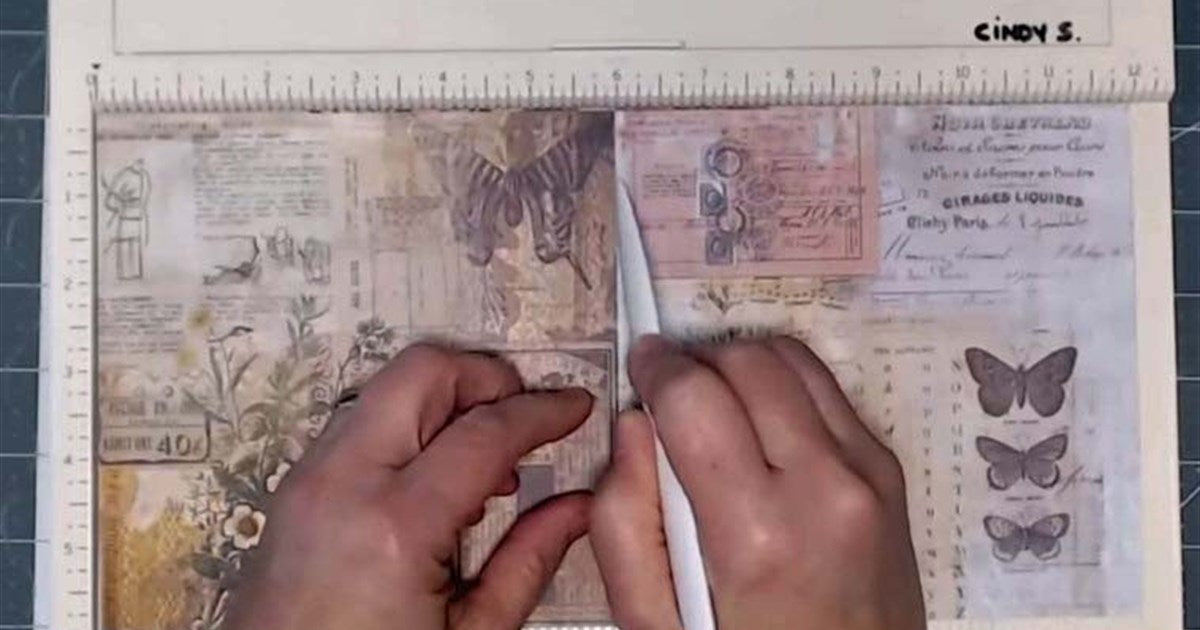
Cut your 12″×12″ paper in half to get a 6″×12″ strip — this becomes both your front and back cover with no waste.
Score three lines: one at the center (6″), and one 3/4″ out from center on each side.
Fold the center line backward, then fold each of the two outer lines the opposite direction. You'll end up with a “mountain” in the middle and a “valley” on each side — that's where your two signatures will sit.
Fold about 20 sheets of paper in half individually, split into two signatures of roughly 10 sheets each, then trim them down about 1/4″ smaller than your cover so they sit cleanly inside without poking out. Pressing the spine under a stack of books for a bit helps it sit flatter.
Thread your needle with linen thread cut to about three times the height of your spine.
Nest your two signatures into the two valleys, find the center of each, and mark three sewing stations: one at the center, and one a half inch in from the head and tail. Never go closer than 3/8″ or you risk tearing the page.
Sew the three-hole pamphlet stitch: in through the center station, out through the top station, back in through the bottom station, and out through the center again.
Pull both thread tails taut on either side of the center stitch and tie them off — pulling up and out at the same time keeps the knot sitting neatly on top instead of pulling through.
Open the book and burnish the spine, and you're done.


A few notes from making a lot of these
Since spine has that little center opening, a scrap of ribbon tucked in makes a sweet built-in bookmark.
Scrapbook paper caps you at 12″, so if you want a bigger book, wallpaper sample sheets give you more length to work with — I fold the extra over on each end and turn it into a pocket. They also come in patterns you simply can't get in a scrapbook pad.
And if you sell at craft fairs, this is genuinely one of the fastest ways I know to build up booth inventory without burning out before the show even starts!
Watch the full tutorial
Watch “Only Takes 7 Minutes!!! 2 section, 3-hole pamphlet stitch” on YouTube to see every step in real time.
What to make next
New to junk journaling? Start with my supplies list for beginners. Then fill your new book with vintage ephemera or printable digital kits, or browse my handmade junk journals for ideas.
Helping you preserve life's memories, one scrap at a time.
~Cindy